Back wall closets:
 |
| with doors |
Strawberries!
 |
| strawberry mint smoothie... mmmm! |
 |
| strawberry-walnut salad with lettuce from the garden |
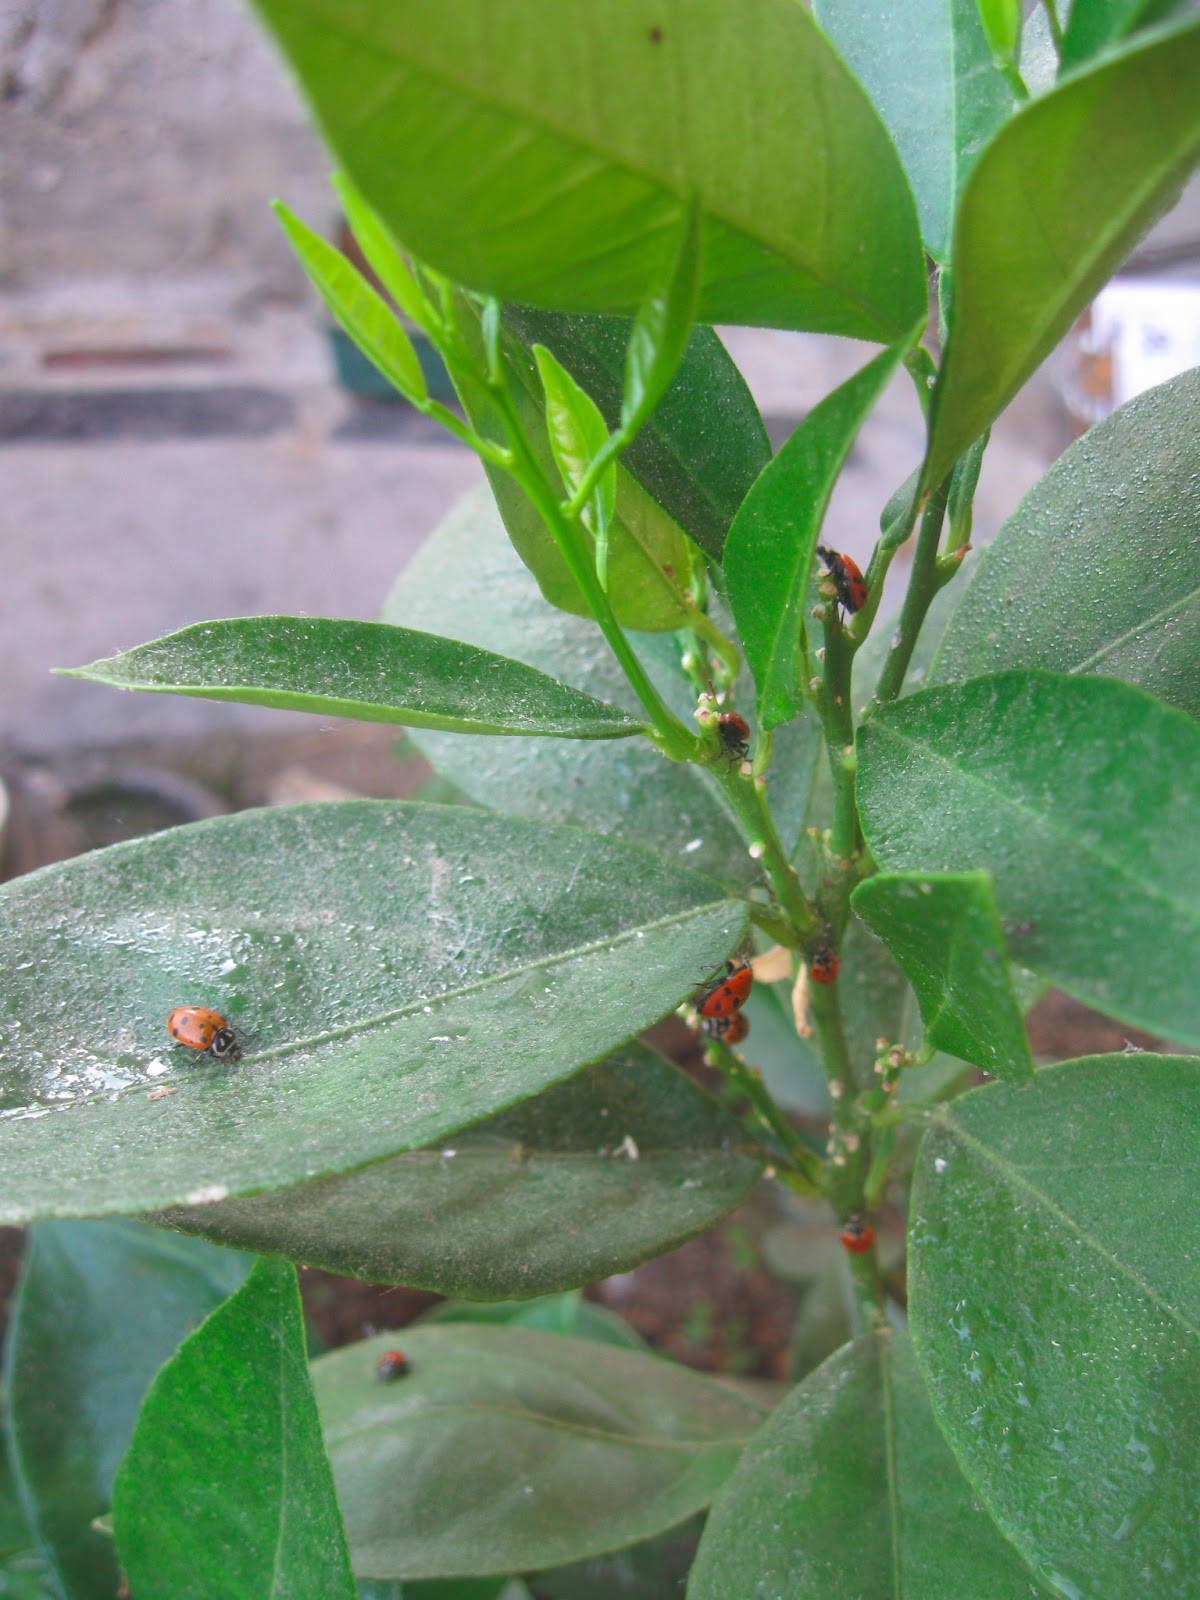
Project ladybugs:
Chad ordered around 750 ladybugs to release on our orange tree because we've been battling with
cottony cushion scale, an insect that often feeds on citrus trees. It's a gross little white fluffy insect seen below. Chad read that ladybugs were natural predators, but it turns out it's vedalia ladybeetle, a specific type of ladybug, that will really eat them up. Unfortunately, those aren't sold commercially.
 Greenhouse update:
 |
| our bedroom view |
 |
| cucumber |
 |
| pepper |
 |
| sunflower |
 |
| strawberries |
 |
| huge tomato "tree"! |
 |
| lots of heirloom tomatoes growing... they are so good! |
Our herb garden: see stick labels for identification
 |
| fig |
 |
| orange tree |
 |
| oranges growing! |
 |
| our outdoor garden |
Around the House
 |
I bought this little guy that tells us our current battery voltage. We have a digital reader in the "power organizing module" (POM) located in a greenhouse closet, but this one is mounted right next to our refrigerator so that we can check it before running major appliances. It varies from 23-29 volts, depending on how/if the sun shines on the panels. In reality, the batteries are fully charged at 25.4 volts and it's bad to use them if they are below 24.0 volts.
Therefore, we run the bigger appliances (vacuum, dishwasher, washer, dryer, and dehumidifier) only during the day, if it's really sunny (and not all at once). We do have a generator for backup, and we usually use power tools directly off of the generator's energy. |
 |
| curtain doorway to our bedroom |
 |
| our bathroom, with shower curtains and blinds for privacy |
 |
| our/Koda's bed with curtains in window |
Wood-Fired Brick Pizza Oven!
Chad couldn't help himself and started this "fall 2013" project at full speed. He's doing it himself and saving us $thousands.
 |
| base |

 |
| Chad embedded ceramic insulation board and insulating firebrick into the 6" thick slab of vermiculite concrete. The brick floor and dome will be built right on top of this. |
 |
| floor |
 |
| first chain of bricks put in, along with the landing and opening |
 |
| 2nd and 3rd chain, needing firebrick wedges to start to round it out |
 |
| arch doorway framed and set |
 |
| voilà! |
 |
| arched opening and 4th chain |
 |
| Chad created a little jig to help hold up the 5th chain before it dries |
 |
| this is starting to become a very fun place for cats to check out... before there's any fire, that is |
 |
| 6th chain |
 |
| Prepping for the 7th chain of bricks... going with the exercise ball method (with lots of wood shims). Each full brick is cut into 1/3s now and the 15degree wedges aren't used anymore. The inside height of the dome is looking like it'll be around 16". We've used close to 200 medium-density firebricks and four 50# bags of Heatstop 50 refractory mortar so far for the whole project (34" diameter wood-fired oven). |
 |
| 7th chain in! |
 |
| there's a valve in the ball which we'll release to deflate and remove in the end |
 |
| Chad's pic from the top... all I could say is "it's crowning!" |